Blender for Product Visualization: Creating Cinematic Renders That Sell
By the Team at Lightson Design Lab
For Craftdas
A product doesn't exist until people can see it. That sounds obvious, but in the modern design and advertising landscape, "seeing it" means something very specific. It means a hero shot that stops a scroll. It means an exploded view that explains the engineering. It means a lifestyle render that places the product in a world the customer wants to live in.
For decades, achieving this level of visual polish required one of two things: an expensive photography studio with professional lighting and a full crew, or a subscription to 3D software that cost more per year than a used car. Neither option was accessible to independent designers, small studios, or brands testing new concepts.
Blender changed that equation completely. At Lightson Design Lab, we've built our entire product visualization pipeline around it. We've delivered cinematic product renders to brands ranging from boutique furniture makers to consumer electronics startups. We've done it without a single software license fee, without render farm costs, and without ever telling a client "we can't do that angle because the studio setup would take too long."
Here's why Blender has become the secret weapon for product visualization, and how you can use it to create work that looks like it cost ten times what it actually did.
Why 3D Product Visualization Matters More Than Ever
Before we dive into Blender specifically, let's talk about why 3D product visualization has moved from a niche alternative to a primary production method for brands of all sizes.
Speed to market is the obvious advantage. A physical product photoshoot requires the product to exist. It requires samples, a studio booking, a photographer, a retoucher, and often multiple rounds of reshoots when the marketing team decides they want a different angle or a different color. A 3D visualization can begin the moment the CAD files are finalized—or even earlier, using concept sketches. By the time the physical samples arrive, the entire marketing campaign can be ready to launch.
Cost is the second factor. A single day of professional product photography can easily run into thousands of dollars. Multiply that by multiple products, multiple colorways, and multiple regional campaigns, and the numbers become prohibitive for all but the largest brands. With 3D, the cost is front-loaded in the creation of the asset. Once the model exists, you can render it from any angle, in any color, in any environment, for essentially the marginal cost of electricity and render time.
Flexibility is the third, and perhaps most powerful, advantage. A photograph is a record of what was in front of the lens. A 3D render is a construction of what could be. You can float a product in mid-air. You can explode it into its component parts and label each one. You can place it in a environment that doesn't exist yet. You can animate it. You can turn it into an interactive web viewer. You can generate perfectly consistent assets for print, web, social, and AR from a single source file.
This is not to say photography is obsolete. It's not. But 3D has become an equal partner in the product visualization toolkit, and Blender is the most accessible entry point to that world.
Why Blender Specifically? The Pragmatic Case
There are other 3D packages that can do product visualization. We've used many of them. But Blender occupies a unique position that makes it especially well-suited to this kind of work.
First, the obvious: It's free. This matters not because artists shouldn't pay for tools, but because it removes friction. You can try Blender without a credit card. You can install it on every machine in a small studio without managing licenses. You can bring on freelance collaborators without worrying about whether they have access to the same software version. For product visualization, where margins can be tight and projects can scale up quickly, this is a genuine business advantage.
Second, Blender is genuinely complete. You don't need a separate modeling package, a separate UV tool, a separate texturing application, and a separate renderer. Blender does all of it in one window. This unified workflow is particularly valuable for product visualization because the work is iterative. You model a detail, see how it catches the light, adjust the material, move a light, and repeat. Doing all of this without leaving a single application keeps you in a creative flow state that fragmented pipelines disrupt.
Third, Eevee and Cycles give you two rendering approaches for the price of none. Eevee is our go-to for rapid iteration and for assets destined for web and social media. We can dial in lighting and materials in real time, share screen captures with clients during calls, and make adjustments while they watch. Cycles is our tool for final hero shots that need to hold up on a billboard or in a print catalog. The seamless switch between the two is something that would cost thousands of dollars in other software ecosystems.
Fourth, Blender's development pace is staggering. Features that would be locked behind paid upgrades elsewhere appear in Blender every few months. The Principled BSDF shader, which is the foundation of almost all product materials, is constantly improving. The glTF exporter, essential for web and AR applications, is best-in-class. The introduction of Geometry Nodes has opened up procedural modeling possibilities that are directly applicable to product variation and packaging.
What You Can Actually Create: The Product Visualization Spectrum
Product visualization isn't just one thing. It's a spectrum of deliverables, each with its own requirements and creative opportunities. Blender handles all of them.
**Hero Shots.** The classic. A single product, beautifully lit, on a clean background or in a carefully constructed environment. This is the image that lives on the product page, in the press kit, and on the homepage hero banner. In Blender, we build these shots with a three-point lighting setup as a foundation, then add accent lights to highlight specific material transitions or design details. The camera is usually on a longer lens—85mm to 135mm—to compress the product and make it feel iconic. Post-processing in Blender's Compositor adds the final polish: a slight vignette, subtle bloom on bright highlights, and a color grade that matches the brand's visual identity.
**Exploded Views.** This is where 3D has an unambiguous advantage over photography. Physically disassembling a product and suspending the parts in mid-air is a nightmare of fishing line, retouching, and patience. In Blender, it's a matter of selecting parts and moving them along an axis. We use exploded views for instruction manuals, crowdfunding campaign pages, and technical marketing materials. The key to a good exploded view is consistency of spacing and a clear visual path that shows how the parts relate to each other.
**Lifestyle and Context Renders.** The product doesn't exist in a vacuum. It exists in a kitchen, a living room, an office, or on a person. Blender allows us to build these environments or use HDRI backdrops to place the product in context. For furniture clients, we often build a simple room set with accurate scale and lighting that matches a real-world interior style. The product sits in that room, casting realistic shadows and reflections, and the result feels grounded and aspirational.
**Color and Material Variations.** A single product might ship in five colors and two material finishes. Photographing every combination is expensive and time-consuming. In Blender, we set up the scene once, and then use material overrides or simple shader adjustments to generate every variant. This is especially valuable for e-commerce, where customers expect to see the exact SKU they're considering.
**Packaging and Unboxing.** The product experience begins before the product is out of the box. Blender is excellent for creating packaging mockups, whether it's a simple box with a printed sleeve or a complex unboxing animation that reveals the product layer by layer. We use cloth simulation for tissue paper, rigid body physics for the box lid opening, and careful camera moves to build anticipation.
**Social Media and Motion Assets.** A still image is powerful. A short, looping video is often more powerful on platforms like Instagram and TikTok. Blender's animation tools let us create turntable renders, slow camera pushes, and subtle product animations—a button being pressed, a hinge rotating, a light pulsing—that bring the product to life in a way that static images cannot.
The Lightson Product Visualization Workflow in Blender
Every studio develops its own approach. Here's how we tackle a typical product visualization project at Lightson, from initial brief to final delivery.
**Step 1: Asset Preparation.** We receive a CAD file from the client, usually in STEP or IGES format. CAD files are mathematically precise but messy in terms of polygon topology. We import them into Blender, clean up the geometry, and often rebuild certain parts with proper Sub-D modeling techniques to ensure smooth shading and clean bevels. This is the unglamorous but essential foundation work.
**Step 2: Material Development.** Using the client's physical material samples, reference photos, and brand guidelines, we build materials in Blender's Shader Editor. We rely heavily on the Principled BSDF, adding subtle variations with noise textures in the roughness and bump channels. For products with logos or printed graphics, we use decals placed with the Shrinkwrap modifier to keep them perfectly flush with curved surfaces.
**Step 3: Scene Setup and Lighting.** We build a simple stage for the product. Sometimes this is a curved backdrop and a floor plane. Sometimes it's a full room. We light the scene with a combination of HDRI environment lighting for realistic ambient and reflection content, and area lights for precise control over highlights and shadows. We test compositions with Eevee to move quickly, then switch to Cycles for final quality checks.
**Step 4: Camera and Composition.** We set up multiple cameras for different deliverables. A hero camera for the main shot. A detail camera for close-ups. An orthographic camera for clean, measurement-accurate side views. We use Blender's Composition Guides to ensure the framing feels intentional.
**Step 5: Rendering and Post.** We render to OpenEXR format to preserve the full dynamic range. In Blender's Compositor, we do final color grading, add subtle bloom and glare, and sometimes composite the product onto a different background plate. The result is a polished, delivery-ready image.
**Step 6: Variation and Export.** From the single master scene file, we generate all the required variations: different colors, different angles, different lighting moods. We export high-res stills for print, optimized JPEGs for web, and glTF files for interactive 3D viewers.
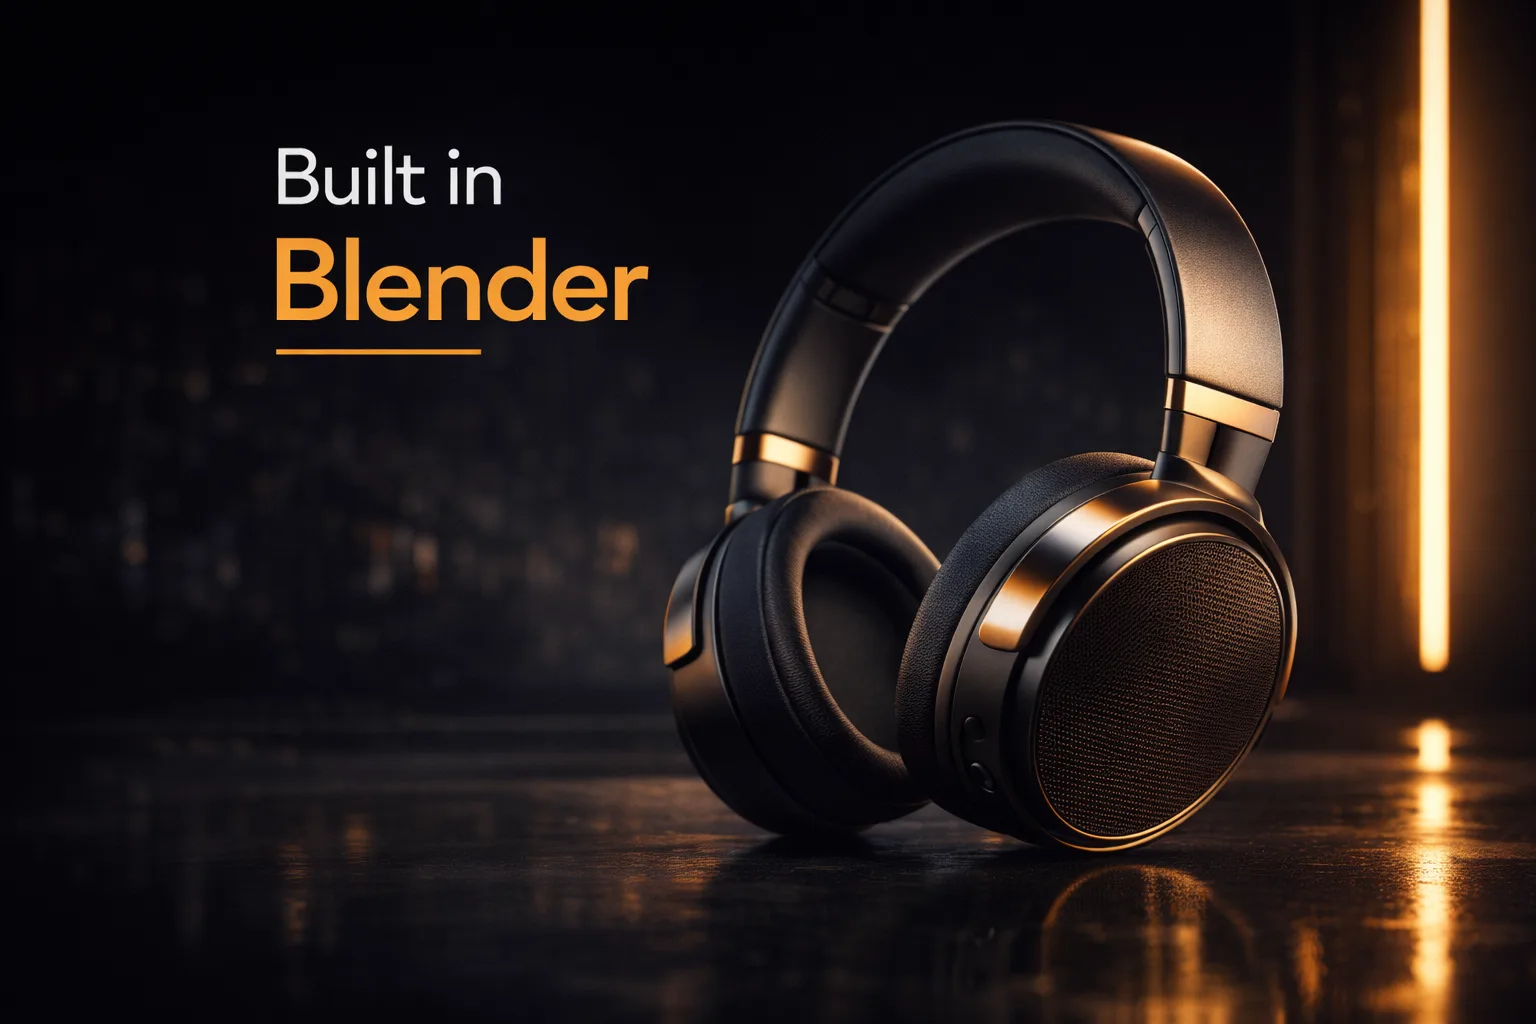
Real-World Example: The Headphone Campaign
Let's make this concrete. A recent Lightson project involved creating the launch visuals for a new line of premium headphones. The client needed hero shots for their website, exploded views for the product page, lifestyle renders for social media, and a short animated loop for Instagram.
We built the headphone model in Blender, paying special attention to the earcup cushioning (using cloth simulation to get the right pillowy softness) and the metallic arm (using an anisotropic shader to get the correct brushed metal direction).
For the hero shot, we used a dark, moody studio setup with a single soft key light from above and a subtle rim light to define the silhouette. The result looked like a high-end magazine editorial.
For the exploded view, we separated the earcups, headband, hinges, and internal driver components, spacing them along a vertical axis. We rendered it with a clean white background and added subtle callout lines in post-production.
For the lifestyle renders, we placed the headphones in a cozy, warm-toned study scene with books, a coffee cup, and soft window light. The headphones rested on a wooden desk, inviting the viewer to imagine them in their own space.
For the Instagram loop, we created a slow turntable animation with a subtle light sweep that made the metallic finish shimmer.
All of this came from a single Blender scene file. The total cost of software for the project was zero dollars. The client received assets that would have cost tens of thousands to produce traditionally, and they received them in time for their launch window.
Getting Started: Practical Advice for Craftdas Creators
If you're a designer, a maker, or a brand owner reading this and thinking about incorporating Blender into your workflow, here's our practical advice.
Start with your own products. Don't try to learn Blender by modeling a fantasy spaceship. Model something you have on your desk. A water bottle. A keyboard. A pair of scissors. You know what it looks like. You can hold it in your hand and study how light hits the surface. This real-world feedback loop accelerates learning.
Focus on materials before you worry about complex lighting. A simple three-point light setup can look incredible if the materials are right. Spend time understanding the Principled BSDF shader. Learn what Roughness, Metallic, Specular, and Clearcoat actually do. Watch how real materials behave under light and try to replicate that behavior.
Use reference relentlessly. Before you start a project, build a reference board of product photography you admire. Look at how the professionals light similar products. Look at the camera angles they choose. Look at the color grading. Don't copy, but learn from the decisions they made.
Render tests, not finals. When you're dialing in a look, render small regions or use Eevee to iterate quickly. Don't wait twenty minutes for a full Cycles render only to realize the light is in the wrong place. Move fast, test often, and only commit to a full render when you're confident.
Share your work and ask for specific feedback. Post a render and ask, "What feels off about this material?" or "Does this composition feel balanced?" The Blender community is large and generally helpful, and specific questions get better answers than "Is this good?"
The Future of Product Visualization is Already Here
We're past the point where 3D product visualization is a novelty or a compromise. It's a standard, expected part of bringing a product to market. The brands that embrace it move faster, iterate more freely, and present their products with a level of polish that was once reserved for luxury goods.
Blender has democratized access to this capability. It has put professional-grade modeling, texturing, lighting, and rendering tools into the hands of anyone with a computer and the willingness to learn. At Lightson Design Lab, we've built a studio around it. We've delivered work that competes with agencies using software that costs fifty times as much. We've done it by focusing on the fundamentals—lighting, materials, composition, and art direction—and by using Blender as the reliable, capable tool that it is.
If you're making physical products, you should be making 3D visuals of those products. And if you're making 3D visuals, there has never been a better time or a better tool to start.
Now open Blender. Import your model. Put a light on it. See what happens.