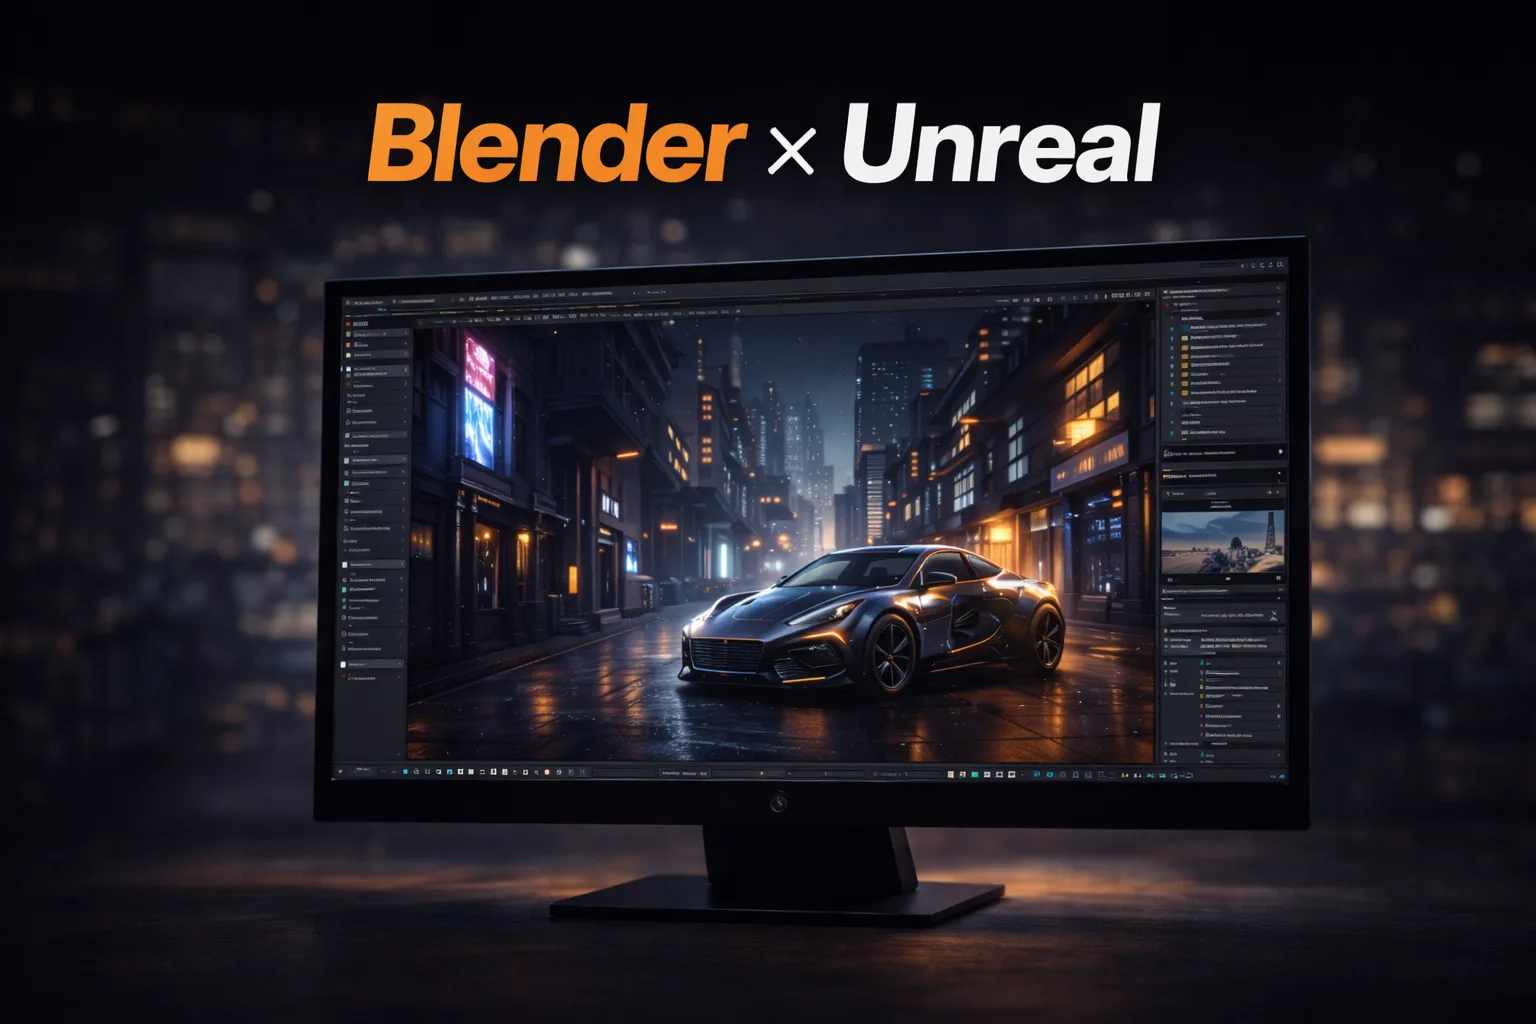
From Polygon to Pixel: How Blender and Unreal Engine Work Together in a Modern 3D Workflow
By the Team at Lightson Design Lab
For Craftdas
There's a moment every 3D creator knows well. You've spent hours in Blender perfecting a model. The topology flows like water. The UVs are clean. The materials catch the light just right. You hit F12 to render a still frame, and it's beautiful. But then you want to walk around it. You want to see it in context. You want a client to experience it, not just look at a flat image.
For years, that moment was followed by a sigh and a long, painful export process into a game engine that felt like it was fighting you every step of the way. Those days are fading fast. At Lightson Design Lab, we've settled into a workflow that feels less like a compromise and more like a superpower: modeling in Blender, and bringing everything to life in Unreal Engine.
This isn't about picking sides in some software war. It's about using the right tool for the right part of the job. Blender is where we build. Unreal is where we tell the story. Here's exactly how we bridge the two, and why this combination is changing how we approach visualization, animation, and world-building for clients like you.
Why This Combo Works: A Partnership, Not a Rivalry
Let's state the obvious upfront: Blender and Unreal Engine are fundamentally different beasts. Blender is a Digital Content Creation (DCC) tool built for precision modeling, sculpting, and offline rendering. Unreal Engine is a real-time rendering platform built for interactivity, high frame rates, and immersion.
The magic happens when you stop trying to make one do the other's job.
We see a lot of new creators trying to build complex architectural details directly in Unreal's modeling tools, or attempting to render a five-minute cinematic entirely in Blender's Cycles on a single workstation. Both are possible, but both are inefficient. The smart workflow looks like this: Blender handles the heavy lifting of asset creation. Unreal handles the heavy lifting of presentation, lighting, and real-time performance. When you let each piece of software play to its strengths, the result is a pipeline that is faster, more flexible, and significantly more scalable.
The Blender Side: Building Assets That Unreal Will Love
Before we ever open Unreal, the work in Blender sets the stage for success or failure. A beautiful model that is poorly prepared for a game engine will cause nothing but headaches. Here's the Lightson approach to Blender preparation.
1. Clean Topology and Proper Scale
This is non-negotiable. Unreal uses centimeters by default. If you model a chair in Blender thinking it's "5 units tall" and don't set your scene scale correctly, that chair will either be the size of a skyscraper or an ant when you import it. We always set Blender's Unit Scale to 0.01 and Length to Centimeters before we start blocking out a scene. This ensures 1 Blender unit equals 1 centimeter in Unreal. It saves hours of rescaling and fixing physics later.
2. The UV Map Reality Check
Unreal Engine relies heavily on lightmaps for baked lighting. That means your asset needs two UV channels. UV Channel 0 is for your textures (color, roughness, normal). UV Channel 1 is for your lightmap. In Blender, we create a second UV Map in the Object Data Properties panel, name it "LightMap," and then do a quick Smart UV Project just for that channel. It doesn't have to look pretty; it just has to be non-overlapping. Forgetting this step is the number one reason why a gorgeous Blender model looks like a muddy, shadowy mess in Unreal.
3. Material Setup: Keep It Simple
You can create insanely complex node trees in Blender. Unreal can't read most of them. When preparing for export, we stick to the Principled BSDF shader and use only the basic inputs: Base Color, Metallic, Roughness, Normal, and sometimes Emission. We bake any procedural noise or complex mixing into texture maps using Blender's "Bake" function. It's an extra step, but it guarantees that what you see in Blender's Material Preview mode is almost exactly what you'll see in Unreal's viewport.
4. Naming Conventions Save Sanity
This sounds boring, but it's the glue that holds a professional pipeline together. We name everything clearly in the Outliner: SM_Chair_Wood, T_Chair_Wood_D, M_Chair_Wood. When you have 200 assets in an Unreal Content Browser, a naming convention is the difference between finding your hero asset in three seconds and scrolling for twenty minutes.
The Bridge: Getting Data from Blender to Unreal
There are two main roads out of Blender and into Unreal. Knowing which one to take depends entirely on the project.
- FBX Export: The Standard Workhorse. For individual assets, characters, or rigged animations, FBX is still the king. We export with "Selected Objects" checked, apply the scale, and set Smoothing to "Face." It's reliable and universally understood.
- Datasmith: The Game Changer for Scenes. If you are working on an architectural visualization or a complex product layout where you have an entire scene staged in Blender—lights, cameras, and all—Datasmith is a revelation. This plugin (available free from Epic Games) allows you to send your entire Blender scene to Unreal with a single click. It preserves hierarchy, instances, and even basic material setups. We use Datasmith for 90% of our visualization work now. It removes the friction of piecemeal importing and lets us treat Unreal like a supercharged viewport for our Blender layouts.
Our typical workflow: Block out the room or environment in Blender. Set up the camera angles. Use Datasmith to bring it all into Unreal. Then we replace the placeholder materials with high-fidelity Unreal Master Materials and start playing with lighting.
The Unreal Side: Where the Scene Comes Alive
Once the data is across the bridge, the real fun begins. This is where Unreal justifies its place in the pipeline.
1. Real-Time Lighting Iteration
In Blender, if you want to see how a light looks, you render a region and wait. In Unreal, you move the light and see the change instantly. For a commercial studio, this speed is everything. We can sit with a Craftdas client on a video call, drag the sun position, change the color temperature of the interior lights, and see the mood shift in real time. That kind of collaborative, live feedback loop is impossible with offline rendering.
2. Nanite and Lumen: The End of Optimization Headaches
If you haven't touched Unreal in a few years, the introduction of Nanite and Lumen has fundamentally changed the rules. Nanite allows you to import incredibly high-poly Blender sculpts directly into the engine without worrying about polygon counts or LODs (Level of Detail). You can take a ZBrush-level sculpt of an ornate product detail and drop it right into the scene. Lumen provides real-time global illumination that rivals the quality of Cycles, but it runs at 60 frames per second. The gap between "preview" and "final render" has collapsed.
3. Building Worlds, Not Just Renders
This is the killer feature for us. A Blender render is a static image or a pre-determined animation. An Unreal project is an experience. We can package the same scene we used for a hero still image and turn it into an interactive product configurator for a website, or a VR walkthrough for a trade show booth. The assets are the same. The work is the same. The output multiplies. For a creative community like Craftdas, this means you can offer clients a still image, a fly-through video, and an interactive 3D viewer—all from one Blender-to-Unreal workflow.
A Practical Workflow Walkthrough: The Product Shot
Let's get concrete. Here's how we handle a typical commercial product visualization for a high-end speaker or consumer electronic device.
Step 1: Blender Modeling & Detailing
We model the product with precise Sub-D workflows. We create the UVs, bake the bevel details into a normal map, and texture the asset using a combination of PBR materials and custom decals.
Step 2: Blender Scene Assembly
We build a simple "stage" for the product. A curved backdrop, a table surface, maybe some abstract geometric shapes to catch reflections. We set up a few area lights and a camera angle. We do a quick test render in Eevee to check the composition.
Step 3: Datasmith Export
With one click, the entire stage and product appear in Unreal. The cameras come with it. The lights are converted to Unreal lights.
Step 4: Unreal Polish
We replace the Blender backdrop material with an Unreal material that uses an HDRI. We swap the Blender area lights for Unreal Rect Lights and turn on Lumen. Immediately, the scene looks better than it did in Blender because we're seeing real-time bounced light and reflections.
Step 5: Sequencer & Output
We use Unreal's Sequencer to add a subtle, slow camera push-in and a turntable rotation. We queue the renders using the Movie Render Queue and output a 4K ProRes file that looks indistinguishable from a 20-minute-per-frame Cycles render—except it took 45 seconds per frame to generate.
Common Pitfalls and How to Dodge Them
Before you dive in, a few notes from our battle scars.
- The "Mid-Gray" Problem: Blender's default world is a flat gray. Unreal's default is a dark void. If you import a model and it looks washed out, it's because you're relying on Blender's world lighting. Always test your materials with an HDRI in Blender before exporting, or better yet, use the "Look Dev" mode in Unreal to see them under neutral studio light.
- Animation Gotchas: If you're bringing over a character rig, remember that Blender and Unreal use different bone orientations. Always apply rotation and scale to your armature before export, and use the "UE4 Mannequin" scale reference to ensure your character isn't doing the splits on import.
- Material Instance Confusion: Don't try to tweak a material on 50 different objects individually in Unreal. Learn to create Material Instances. It's a way to expose parameters like "Color Tint" and "Roughness Amount" so you can adjust them globally without recompiling shaders.
The Verdict: A Workflow for Creators Who Want to Grow
At Lightson Design Lab, we don't view Blender and Unreal as two separate software packages. We view them as a single, continuous creative pipeline. Blender is the workshop where we craft the details. Unreal is the gallery where we invite people to experience them.
For the Craftdas community—whether you're a product designer, a visualization artist, or a world-builder—this combination is the most accessible and powerful toolset available today. It's free to start, it scales to professional studio work, and it bridges the gap between making a beautiful image and creating a memorable experience.
Stop thinking about the export button as the end of the process. Start thinking about it as the moment the scene gets its heartbeat.